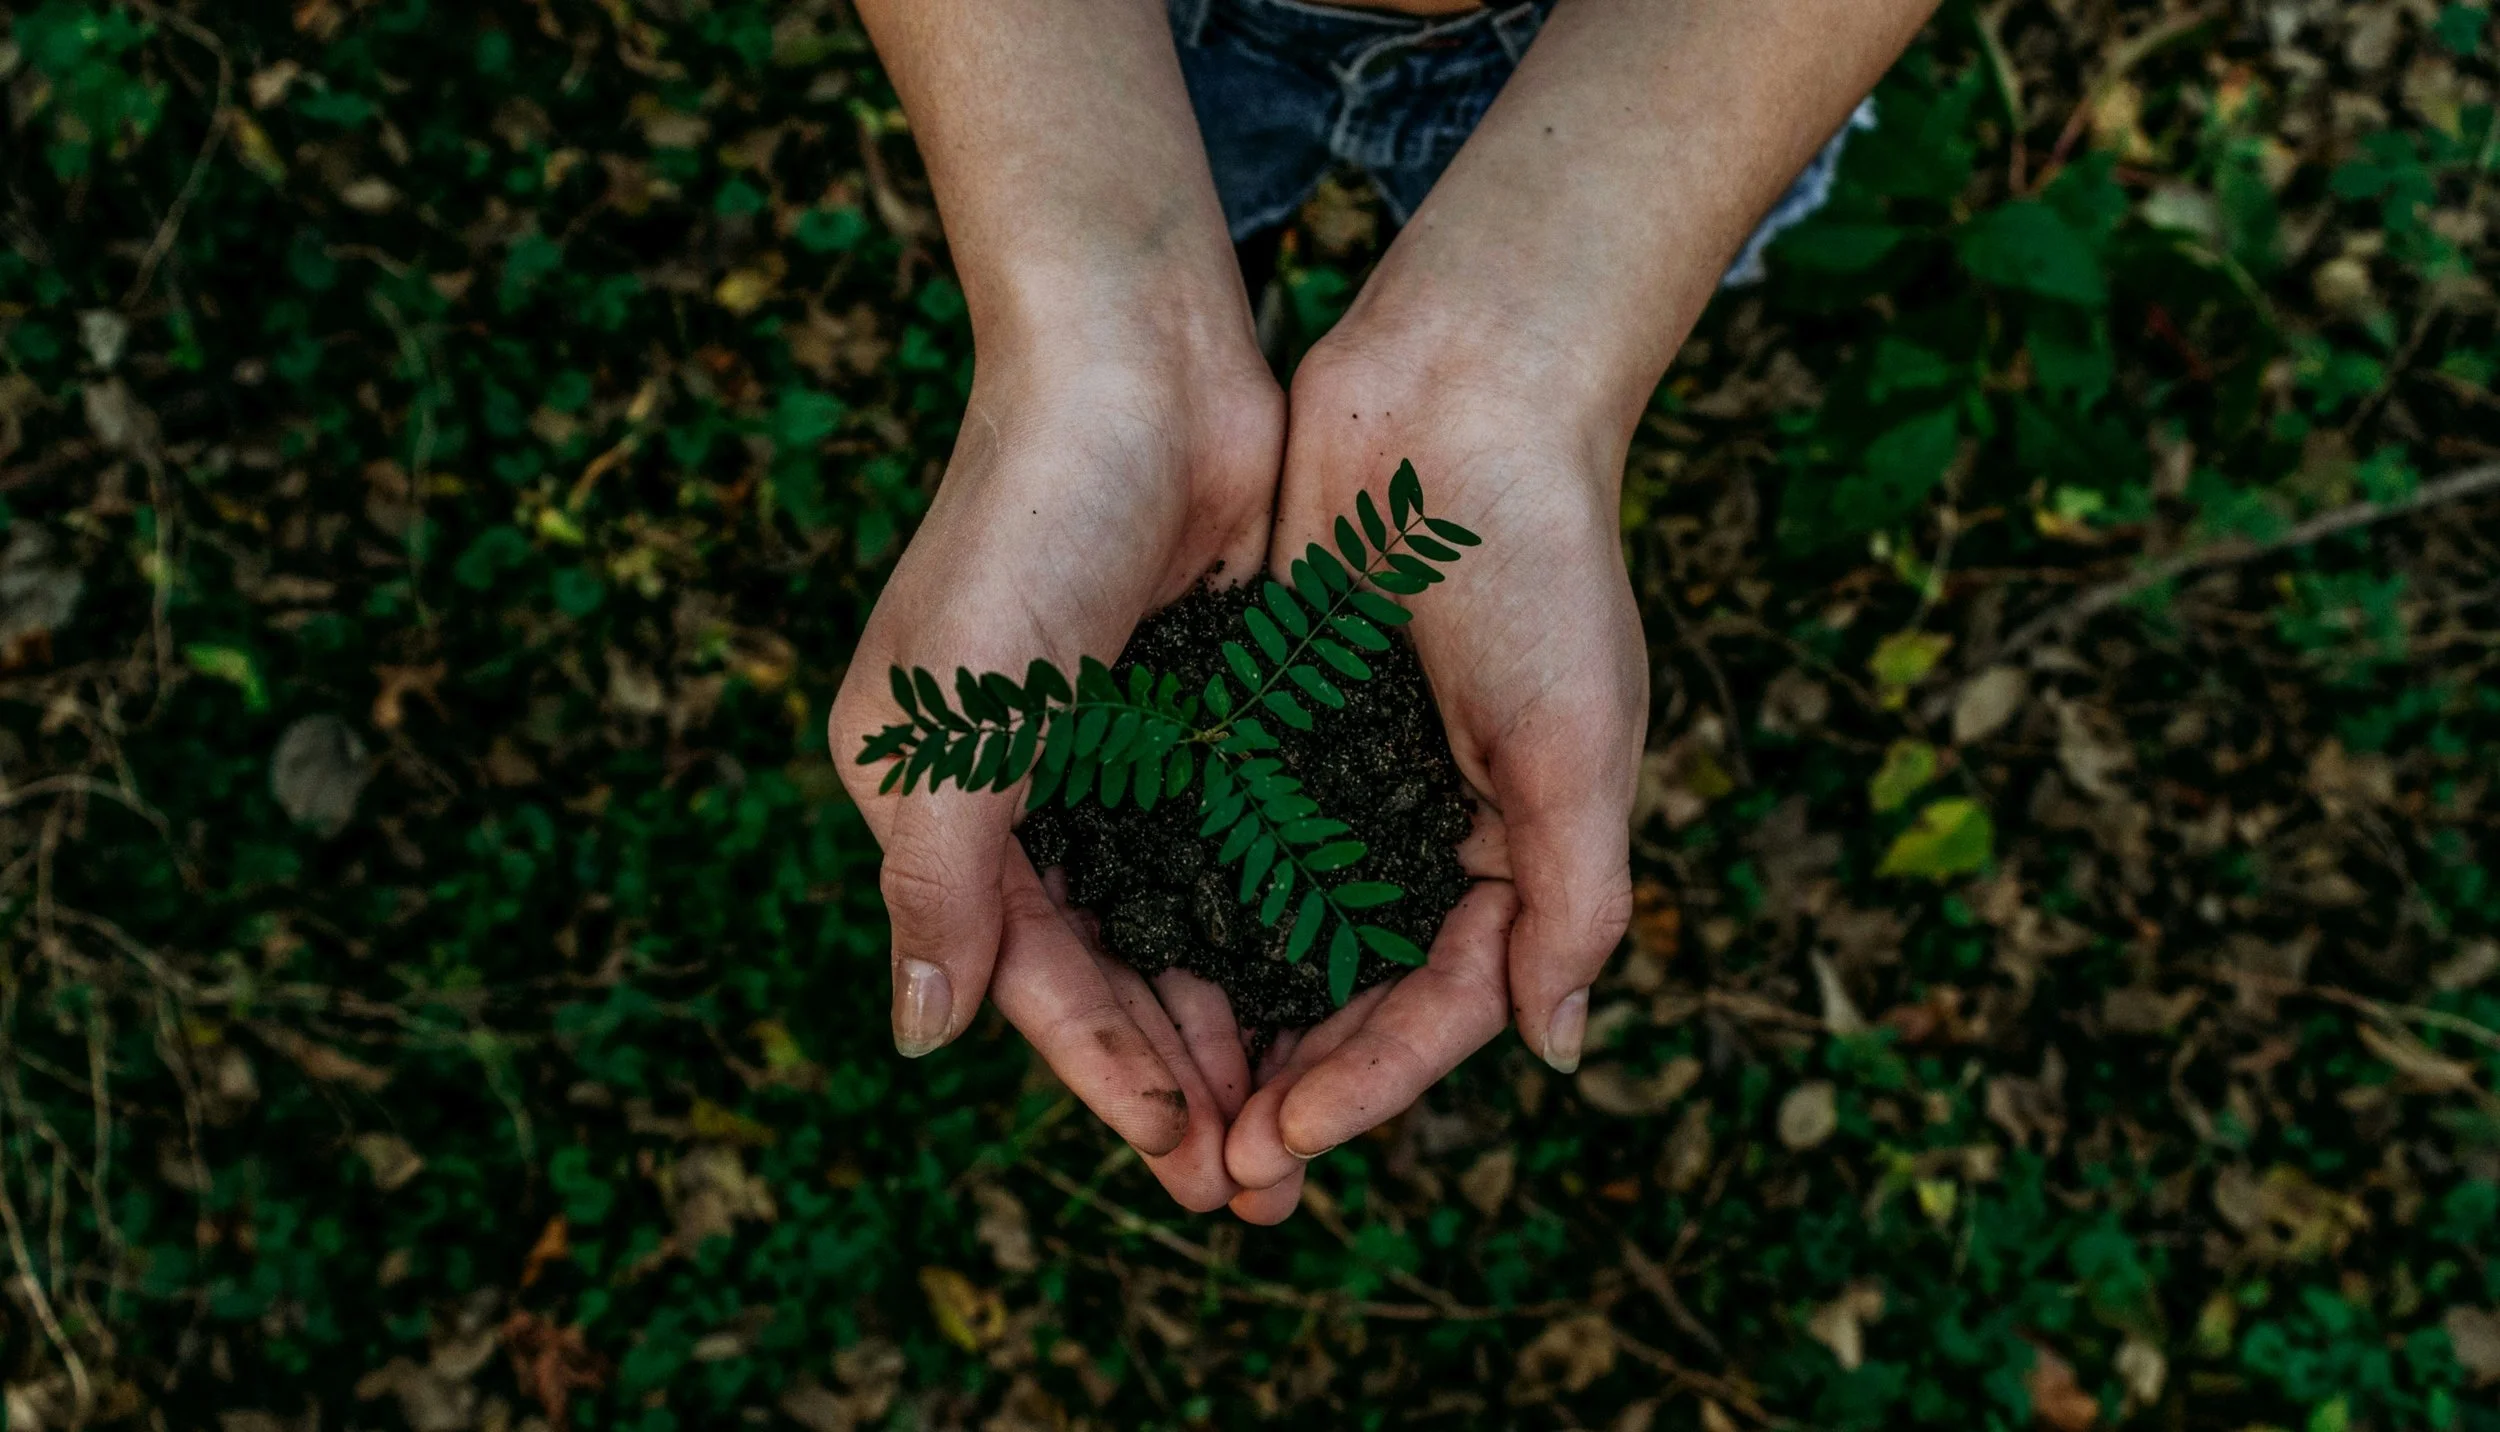
Recycling Projects
We give children recyclable materials and the freedom to turn them into something new. Through a variety of sustainability-based projects, kids develop environmental awareness, resourcefulness, and confidence in their own creations, all while having fun.
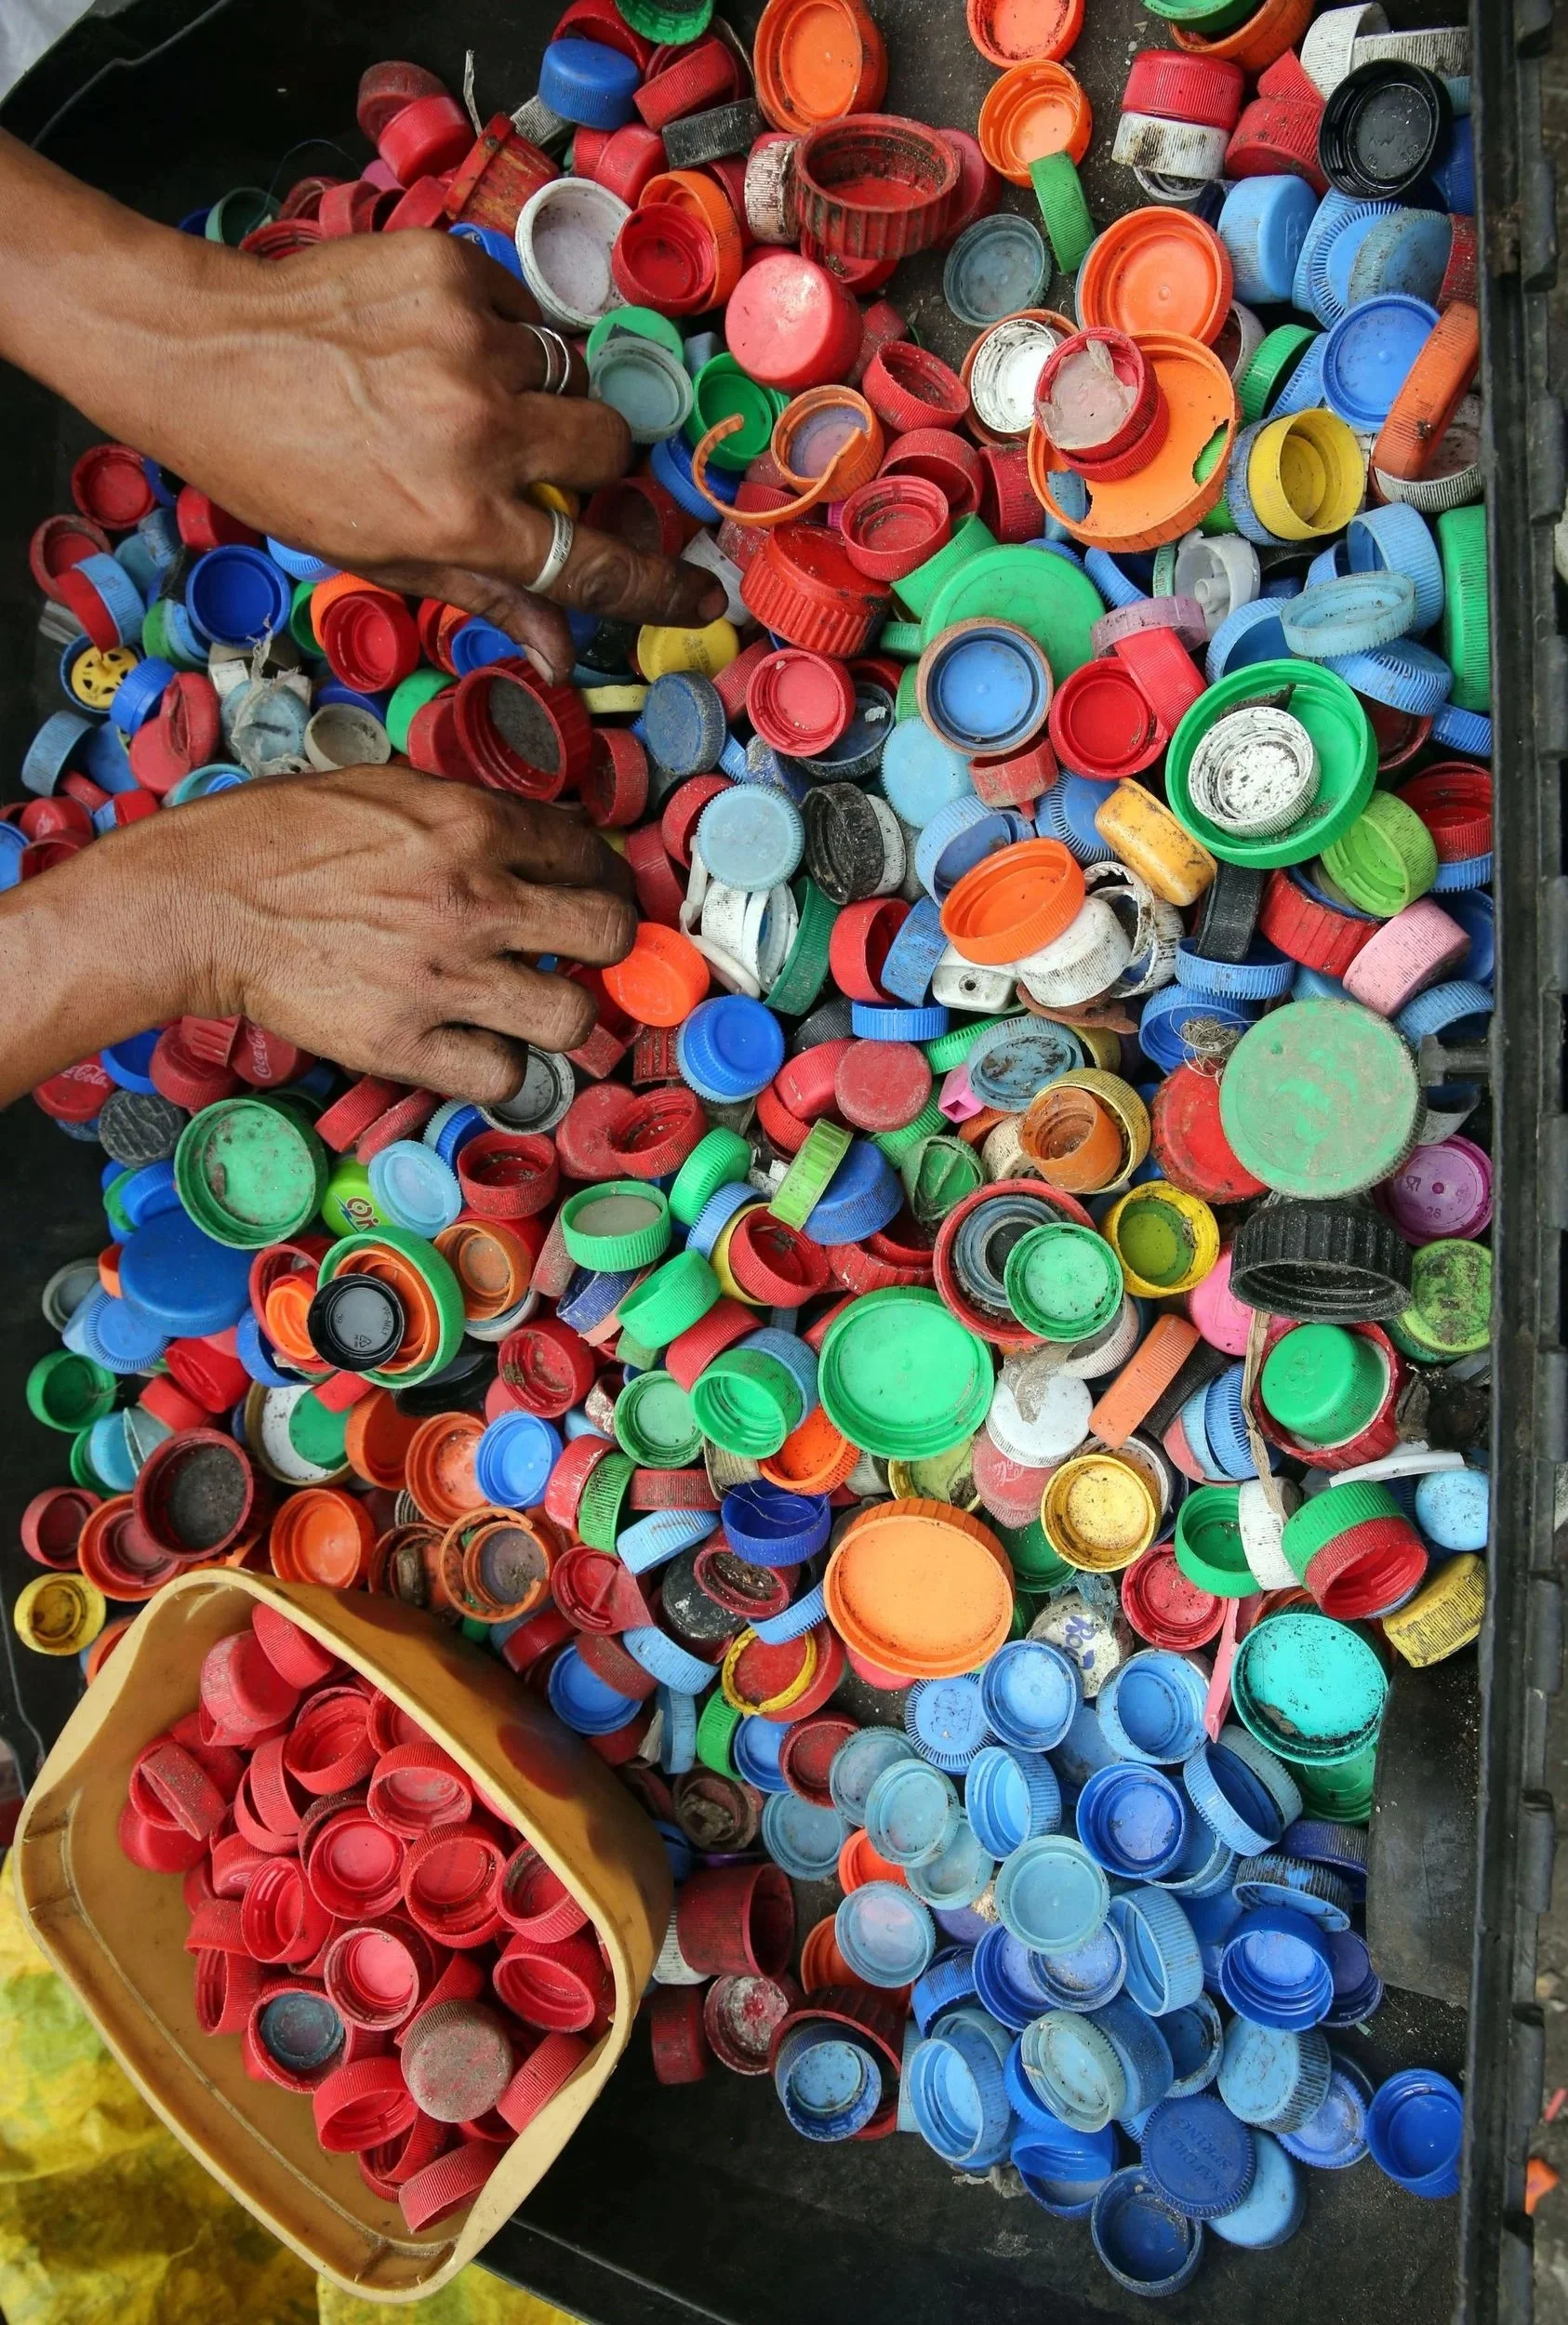
BOTTLE LID ART
Involves students sorting and arranging collected bottle lids by colour and size to create bright, textured artworks. They can design individual pieces such as animals, faces or patterns, or work together on a large class mosaic that is attached to a board or wall. Students also learn how everyday waste can become something beautiful.
Resources supplied
Pre-cleaned and sorted bottle lids in a full range of colours and sizes
Wooden or MDF boards and cardboard bases
Strong non-toxic craft glue and glue spreaders (facilitator-assisted hot glue for older students only)
Pencils, chalk and design templates
Sorting tubs and trays for each table
Paint pens or acrylic paint for decorating (optional)
Drop sheets and wet wipes
How we will set it up
Lids are sorted into colour tubs and placed at each table for sharing.
We start with a short talk about plastic waste and how reusing materials helps the environment.
Students sketch a design on their board or help plan the layout of the class mural.
Lids are arranged first without glue, so students can adjust their designs, then fixed in place.
Finished boards are left to dry flat and can be displayed at school or taken home.
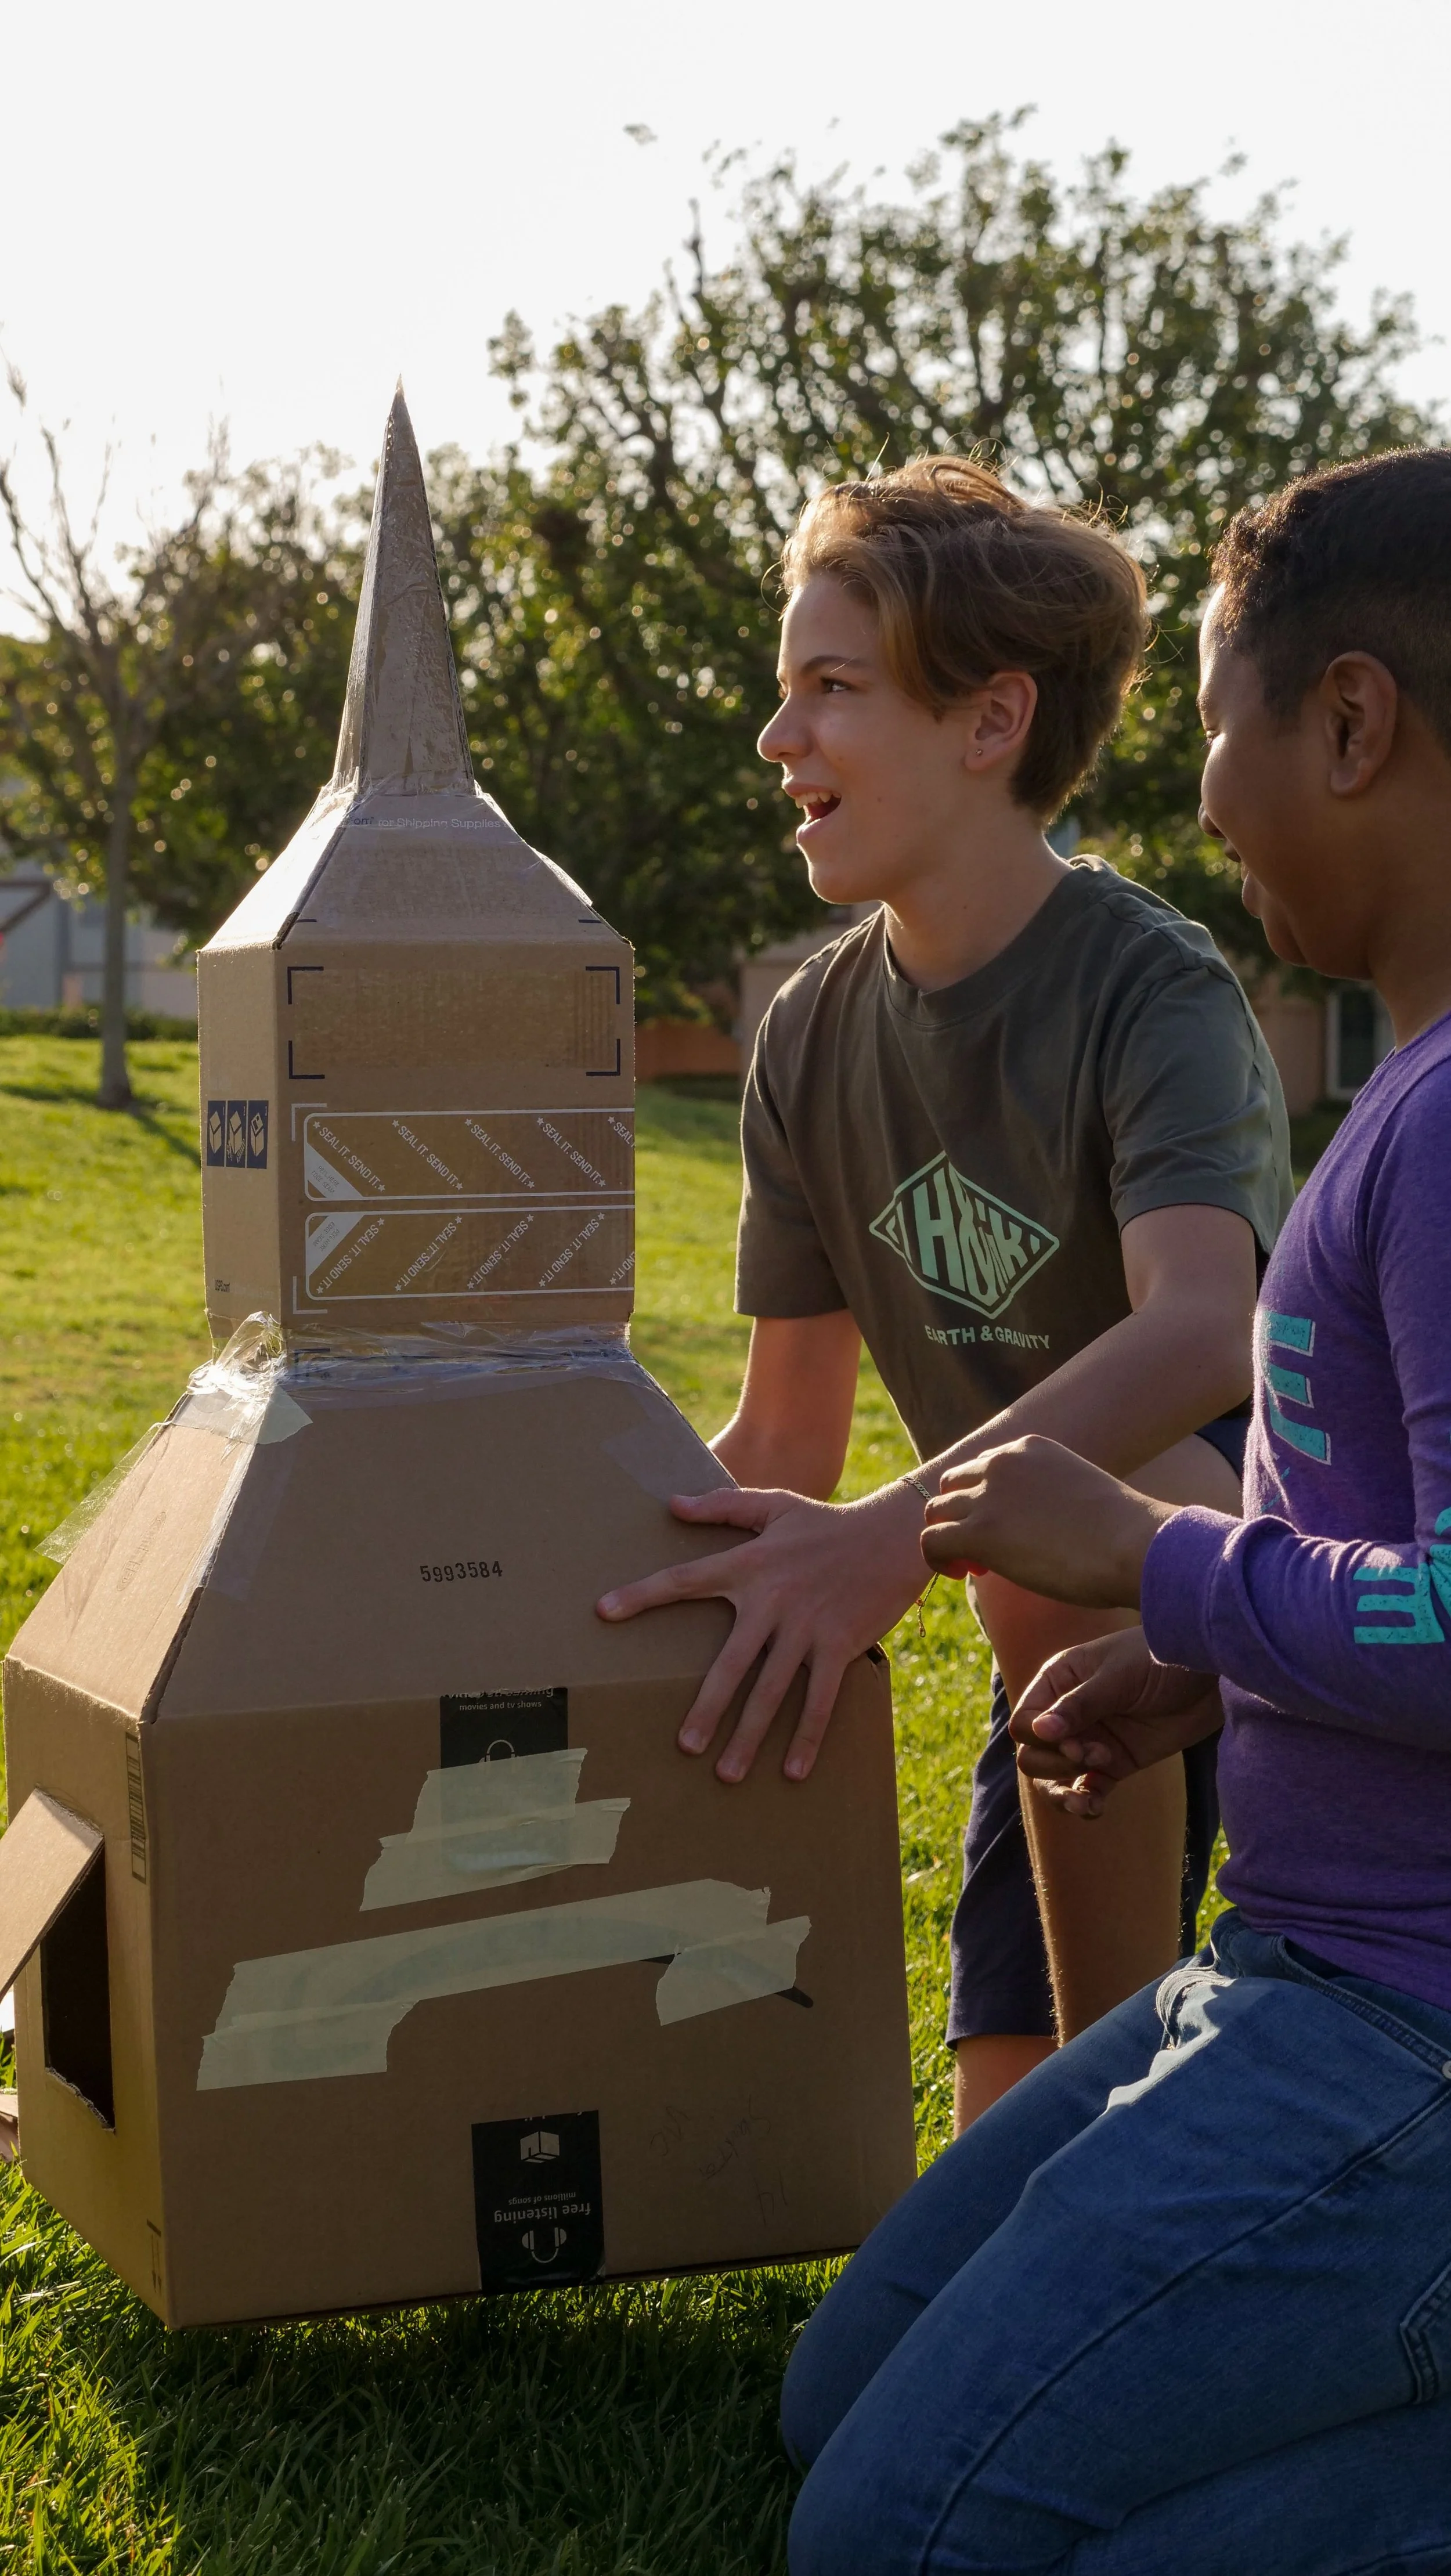
BIG BUILDS
Involves students working together to paint and decorate one enormous cardboard model, such as a bus, dinosaur, robot, rocket or castle, that is big enough for many children to work on at the same time. We arrive with the model pre-built from recycled cardboard, and students bring it to life with paint, patterns, textures and details. Everyone adds their own ideas, so the finished piece becomes a one-of-a-kind creation that the whole class can be proud of.
Resources supplied
Pre-built giant cardboard model, made from recycled boxes and sturdy sheets (choice of bus, dinosaur, robot or custom theme)
Non-toxic washable acrylic or poster paint in a full colour range
Brushes in a variety of sizes, plus sponges and rollers
Paint trays, palettes and water containers
Cardboard offcuts, paper, fabric and bottle lids for adding details like windows, scales, buttons and wheels
Non-toxic glue and paper tape
Markers and chalk for sketching ideas on the model
Step stools for reaching high areas (supervised)
Aprons, drop sheets and wet wipes
How we will set it up
Drop sheets are laid down and the model is assembled and stabilised in the centre of the space, with room for children to move around it.
We start with a short introduction to the model and a group chat about recycling and how cardboard can be given a second life.
Children brainstorm ideas together, such as colours, patterns, names and details, and suggest what the creation should look like.
Small groups are assigned to different sections, such as the wheels, head, windows or tail, and paint stations are placed within easy reach.
Students paint and decorate their sections, then step back to see how the sections fit together as one artwork.
Extra details like cardboard windows, eyes and lid buttons can be glued on once the paint has dried.
The finished model is left to dry and can be displayed at the school or centre.
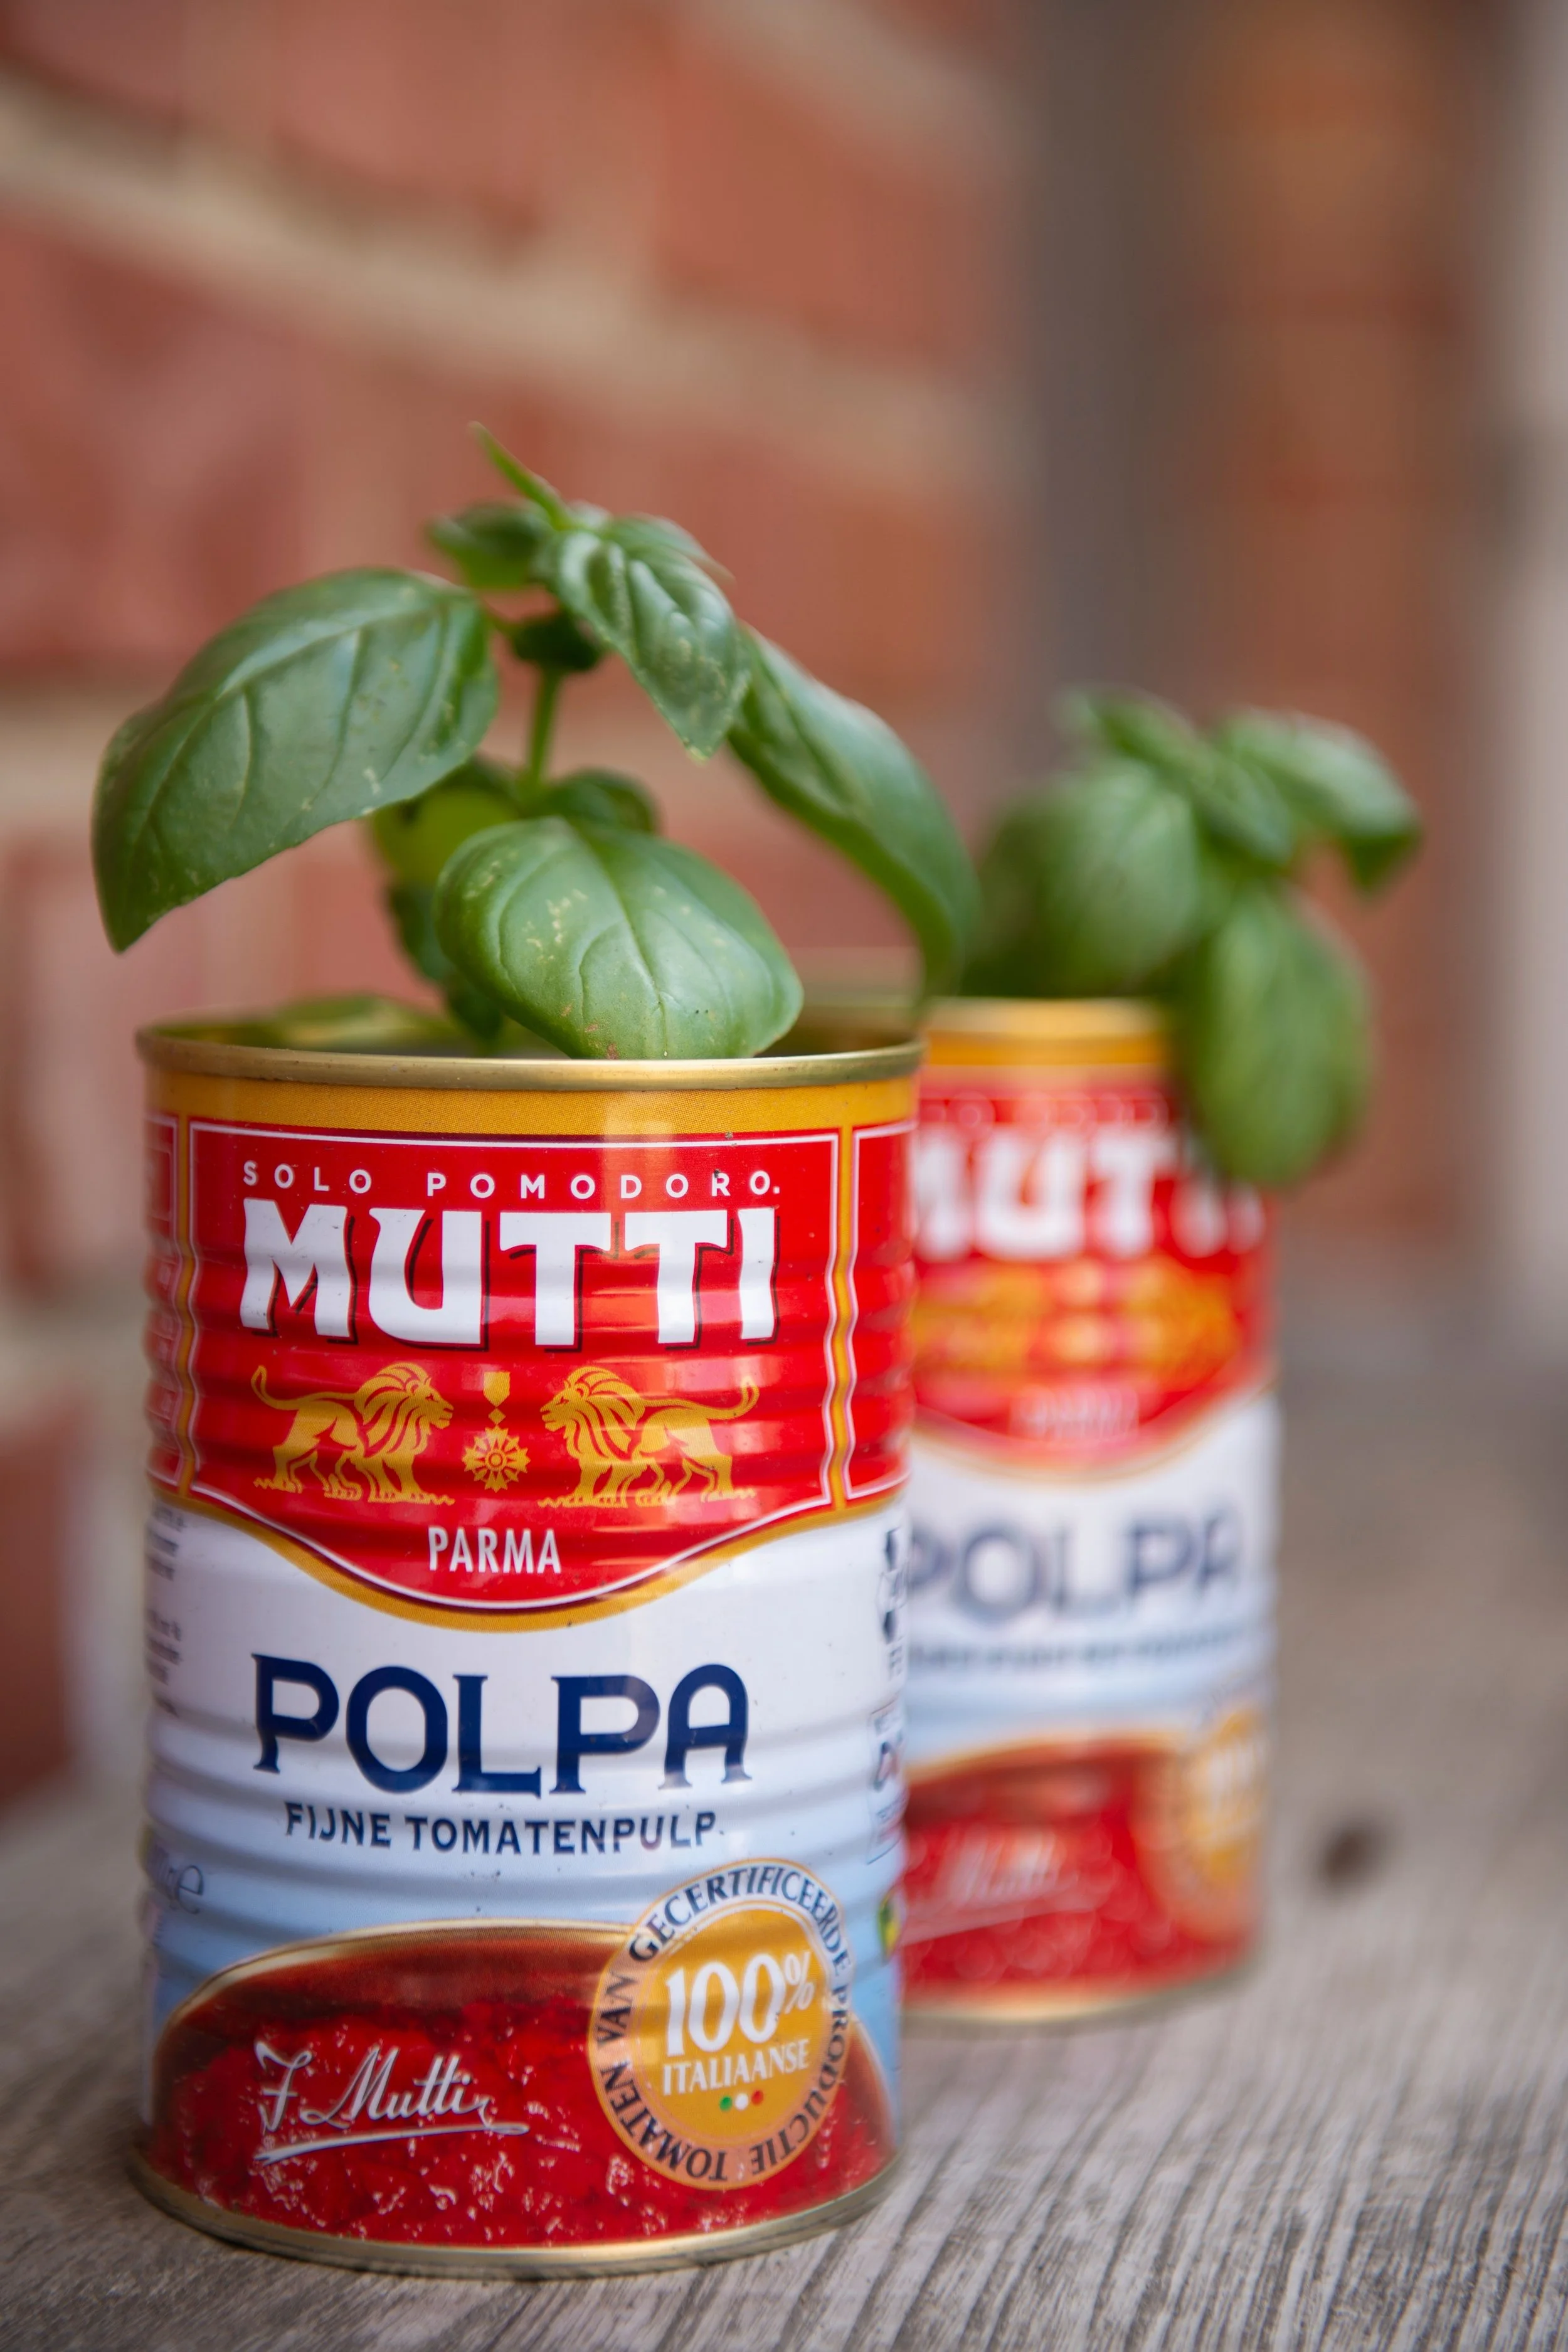
CAN PLANTING
Involves students turning clean, safety-prepared recycled cans into mini planters, then painting, decorating and planting them with seeds or seedlings. Each student creates a living artwork they can care for and watch grow, while learning how reusing everyday items can help the environment. Cans can also be arranged together into a colourful class garden for a classroom, courtyard or fence line.
Resources supplied
Pre-cleaned cans with all sharp edges removed or covered by us before the session
Drainage hole preparation (done by facilitators in advance)
Potting mix, scoops and small trowels
Seeds and seedlings suited to small pots, such as herbs (basil, parsley, mint), marigolds, sunflowers or lettuce
Plant labels or paddle pop sticks for naming plants
Small trays or saucers to catch water
Watering cans or spray bottles
Aprons, drop sheets and wet wipes
How we will set it up
Cans are cleaned, edge-checked and drilled with drainage holes before we arrive, and students never handle uncovered edges.
We start with a short talk about upcycling, how plants grow and what they need to thrive.
Students paint and decorate their cans, adding a base coat first and details once dry.
Students fill their cans with potting mix, plant their seeds or seedlings and water them gently.
Each plant is labelled and placed on a tray, ready to go home or join a class garden display.
We provide a simple care sheet covering watering, sunlight and what to expect as the plant grows.