Art Projects
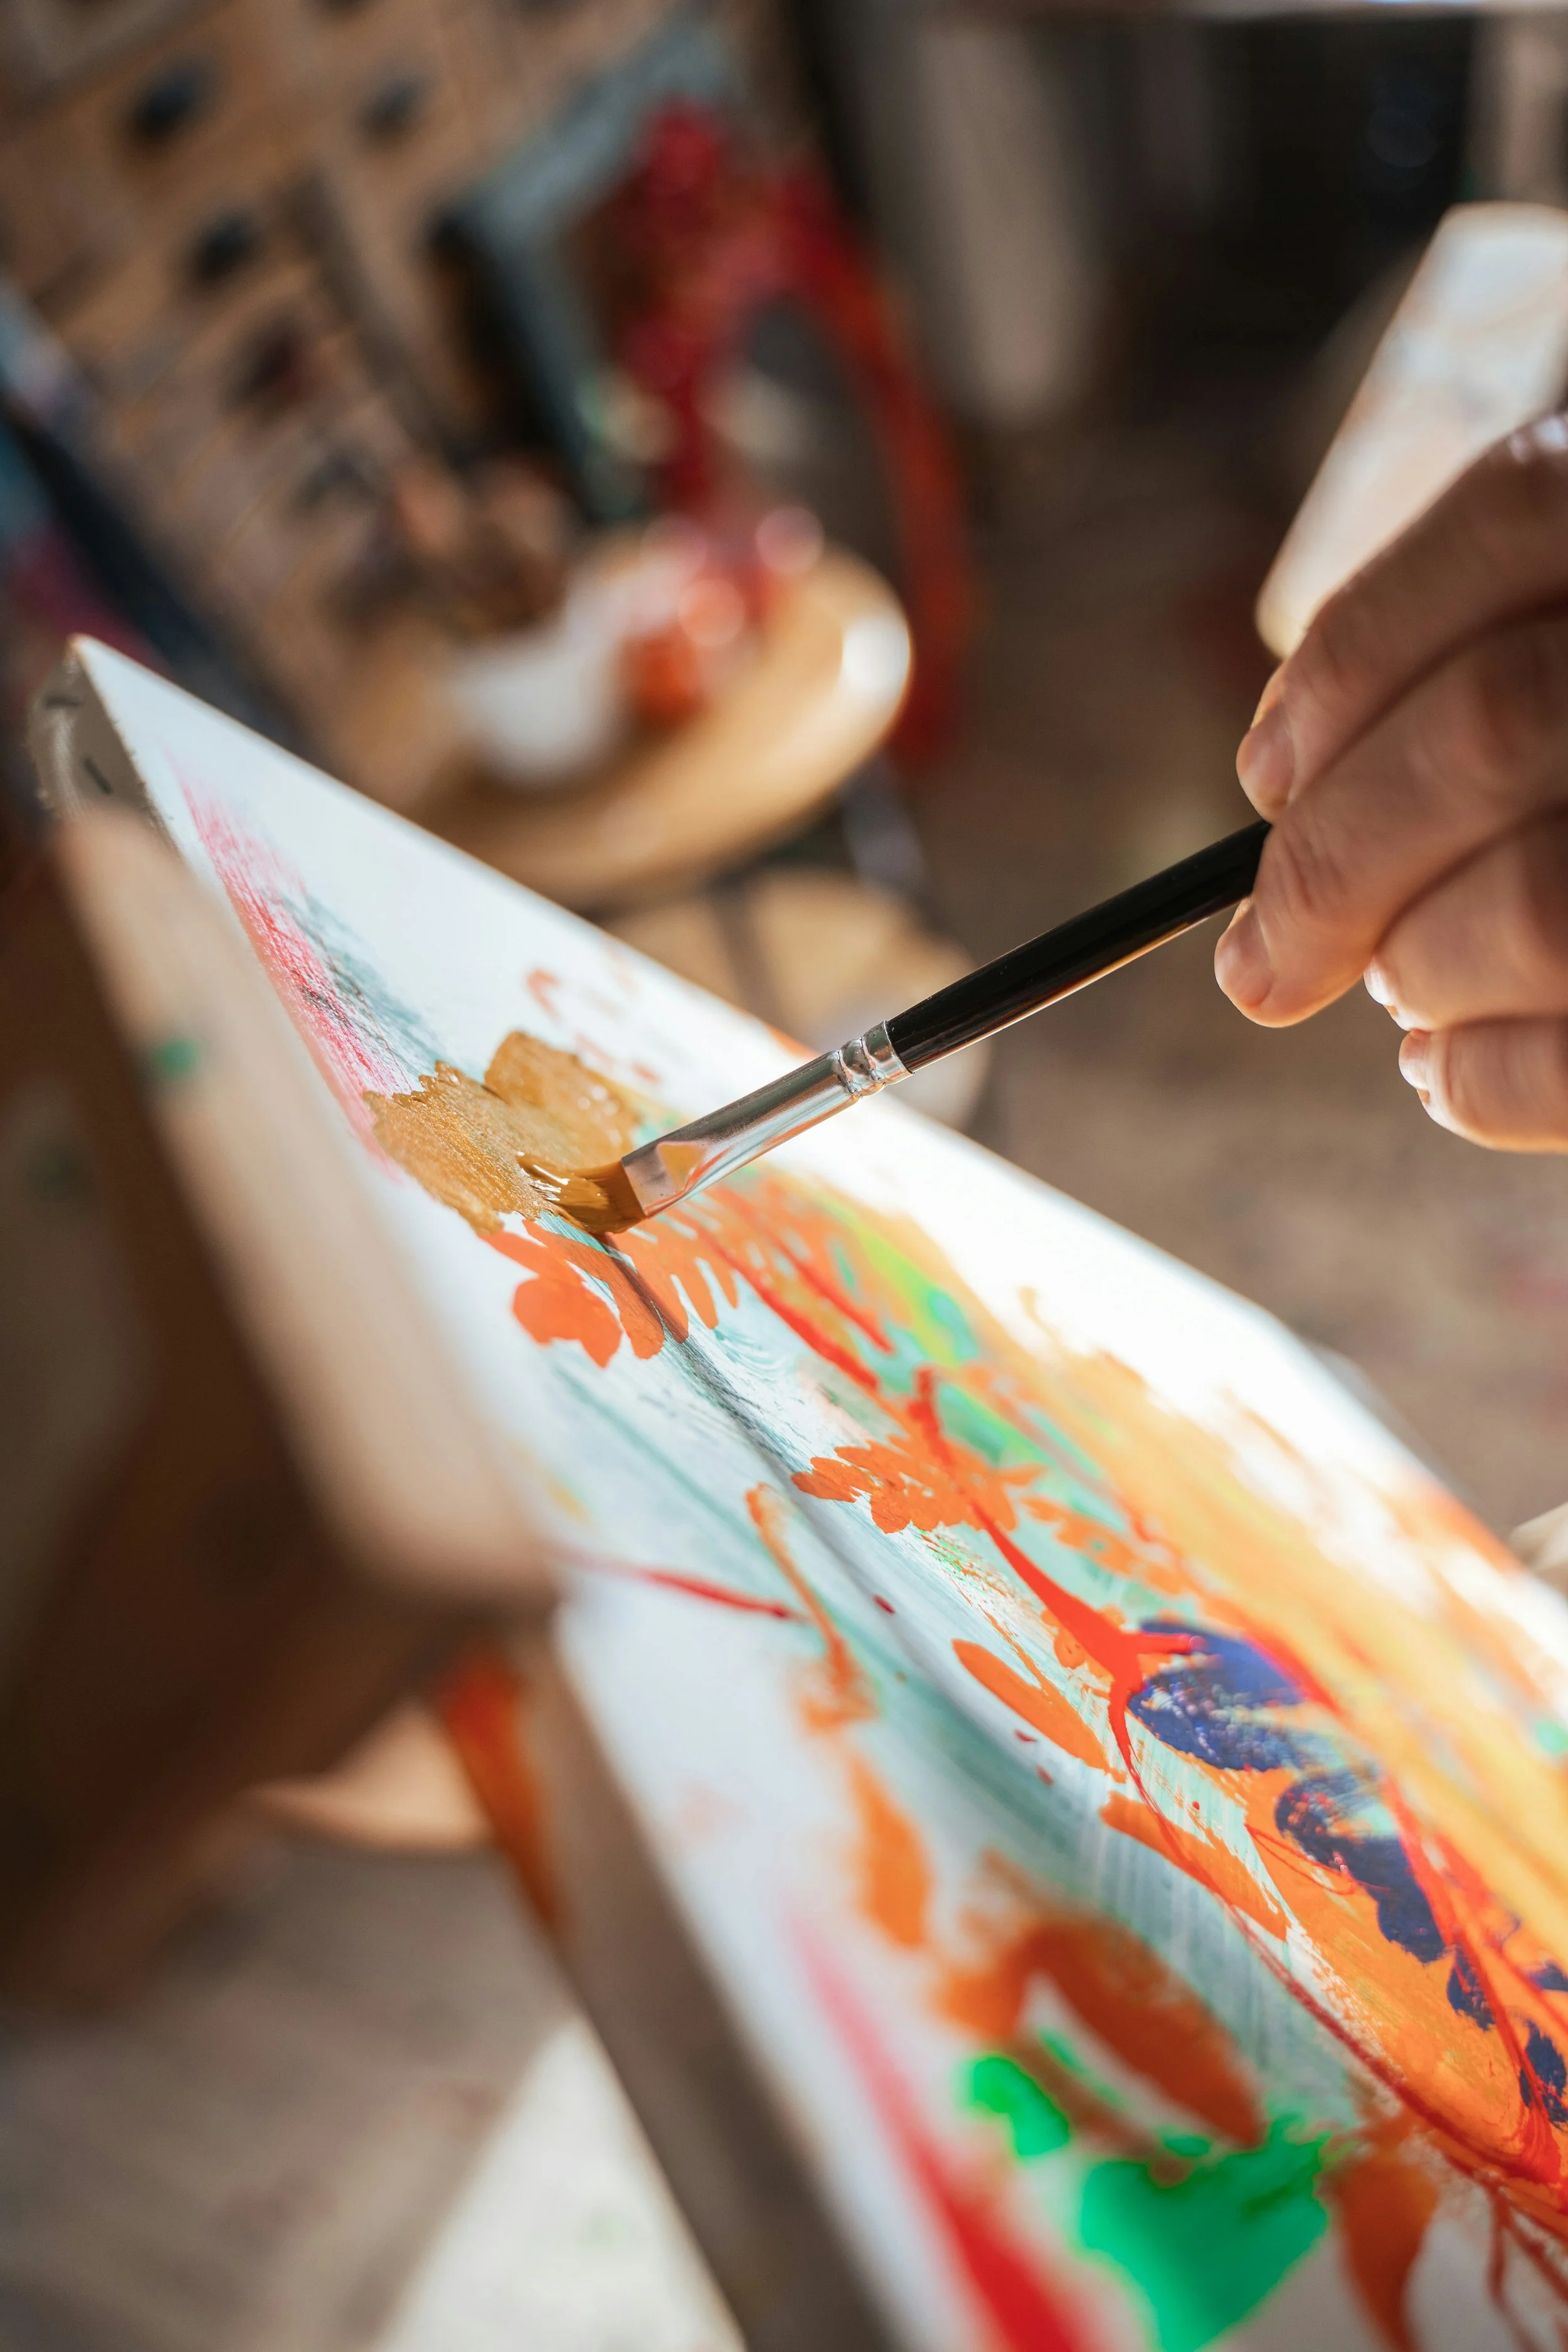
We give children the space, materials, and freedom to explore their creativity. Through a variety of art based activities, kids develop self expression, fine motor skills, and confidence in their own ideas, all while having fun.
CLAY MODELLING
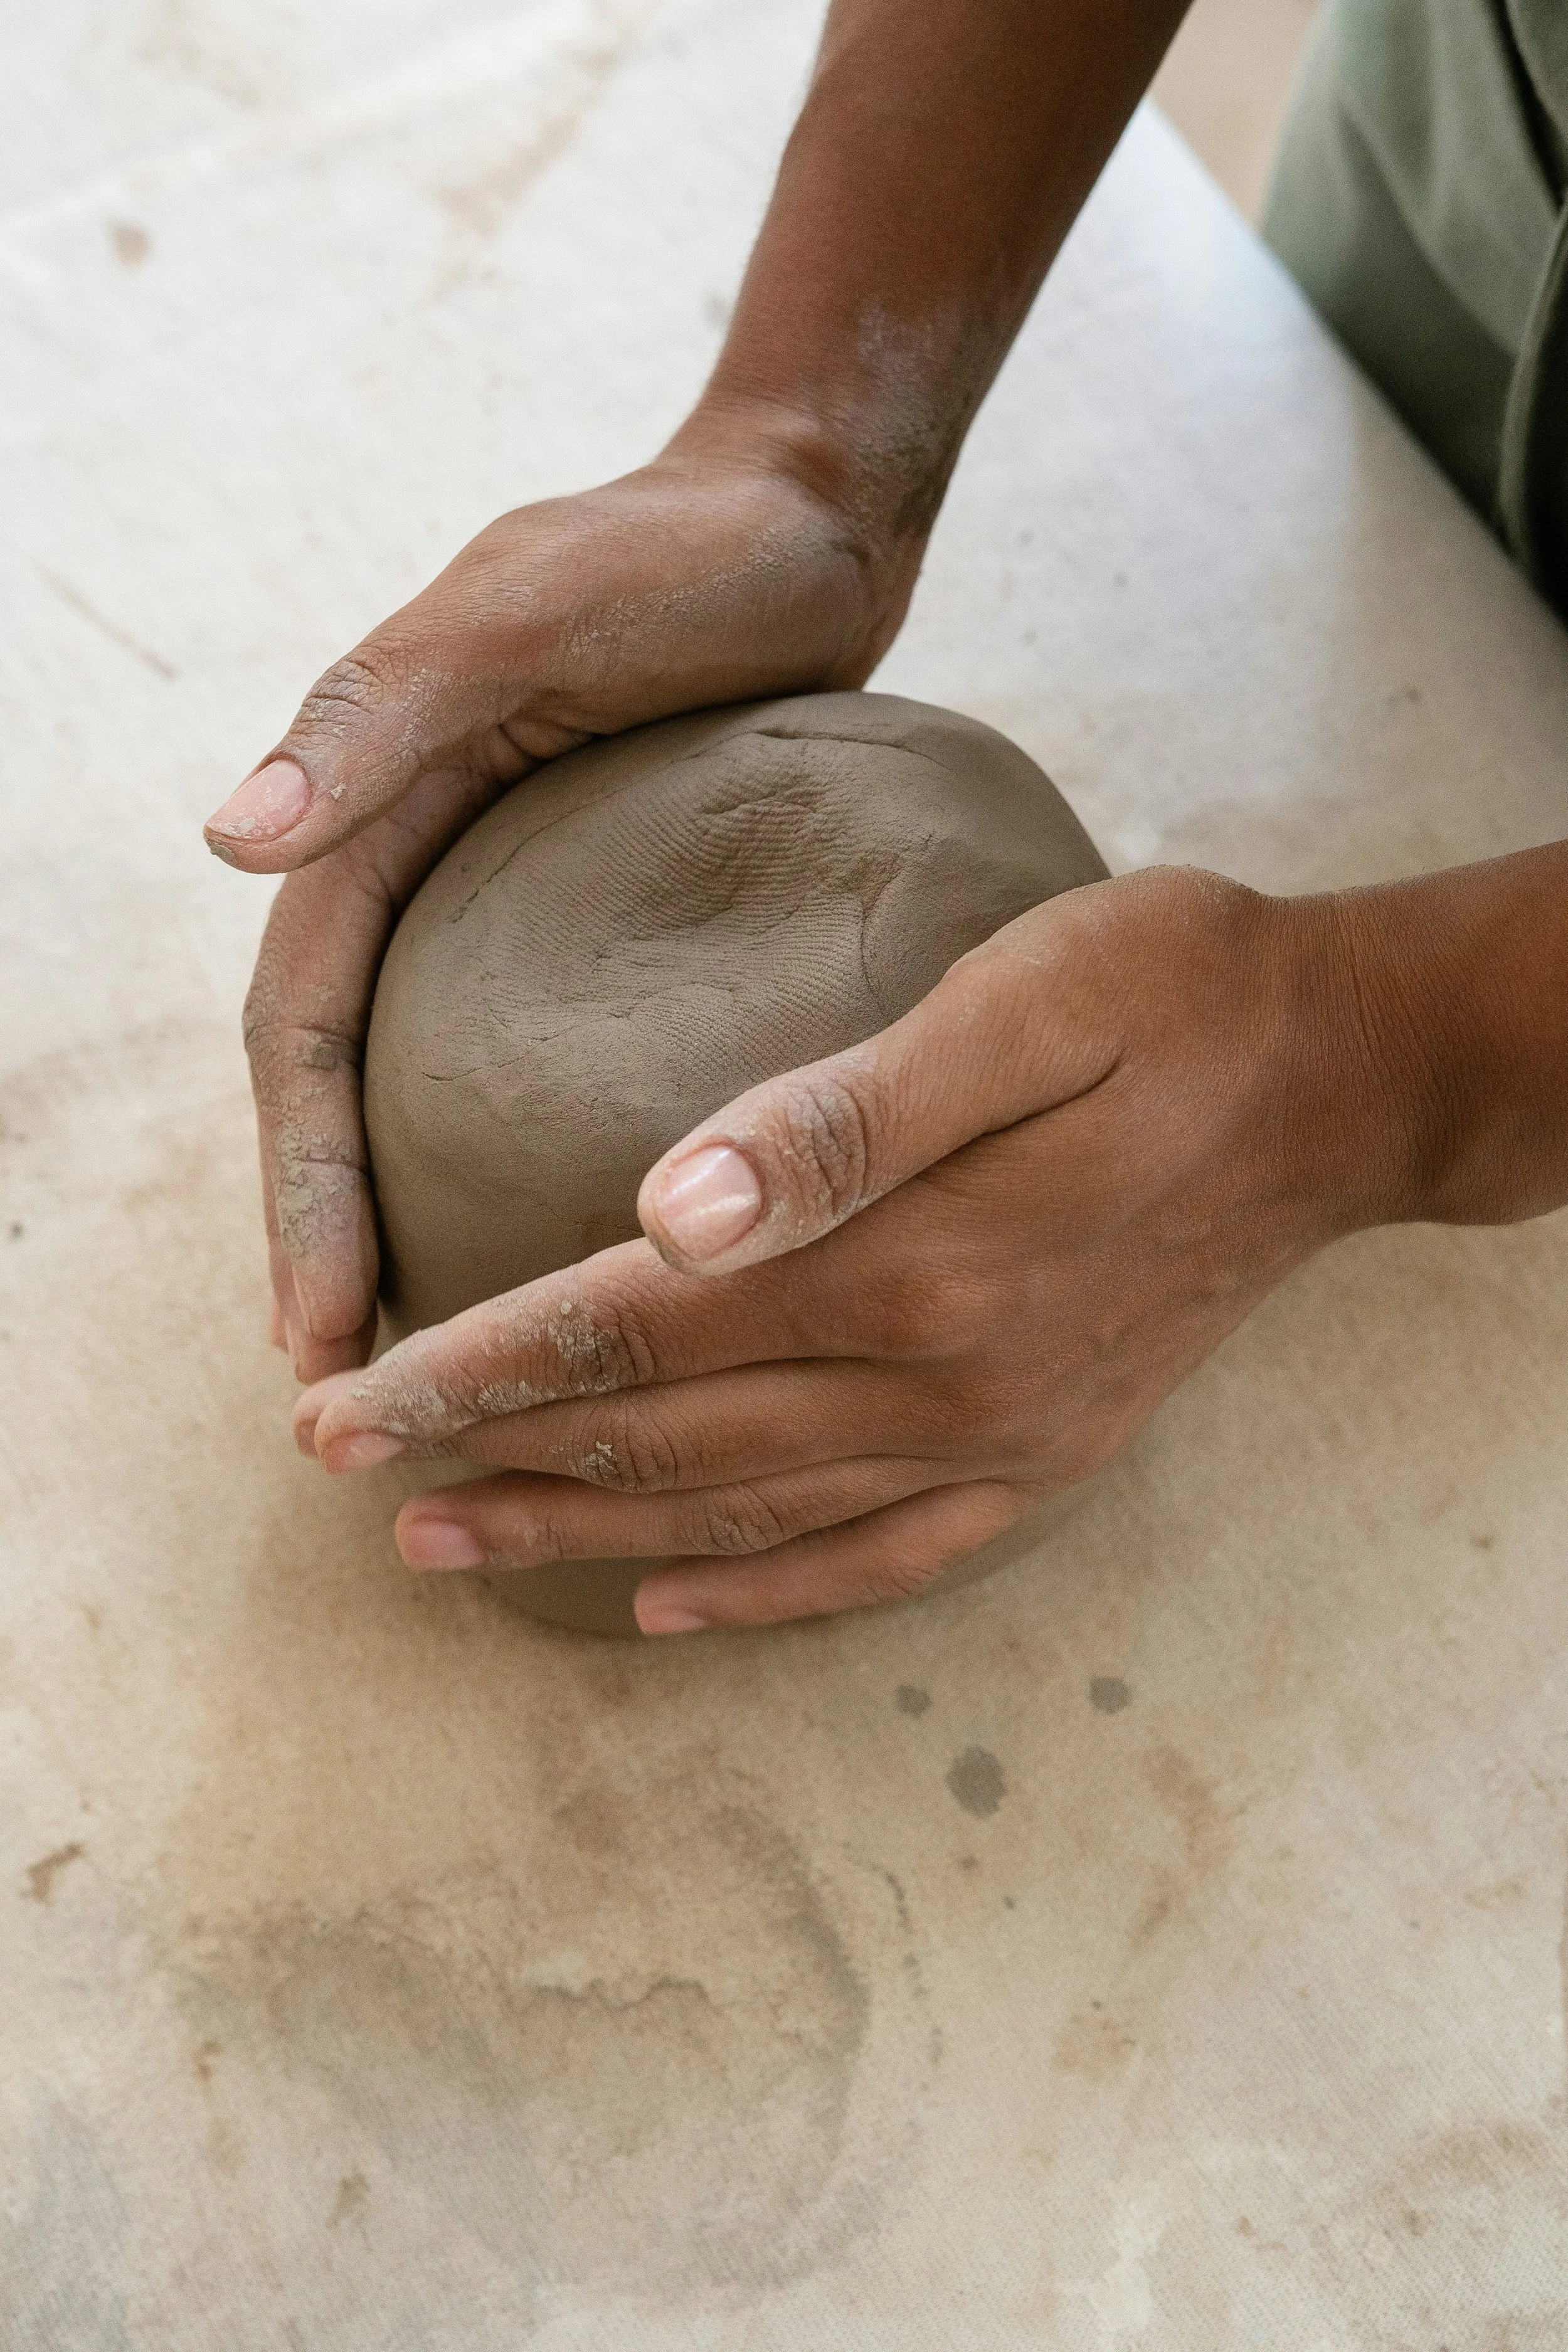
Involves students exploring clay as a creative material by rolling, pinching, coiling and sculpting it into their own creations. They might make animals, bowls, characters, or objects linked to a class theme, while learning basic hand-building techniques.
Resources Supplied
Air-dry and polymer clay (non-toxic)
Modelling tools such as wooden sculpting tools, rolling pins and clay cutters
Boards or mats for each student to work on
Small water containers and sponges for smoothing
Paint and varnish for finishing (optional, for an extended session)
Aprons and table coverings
Wet wipes and drying trays
How we will set it up
Tables are covered and each student is given a work board and a portion of clay.
We demonstrate basic techniques, such as pinch pots, coil building and slab work.
Students are given a theme or free choice and begin shaping their pieces.
Tools are introduced for adding detail, texture and patterns.
Finished pieces are placed on drying trays, ready to be painted or varnished once dry.
MURAL PAINTING
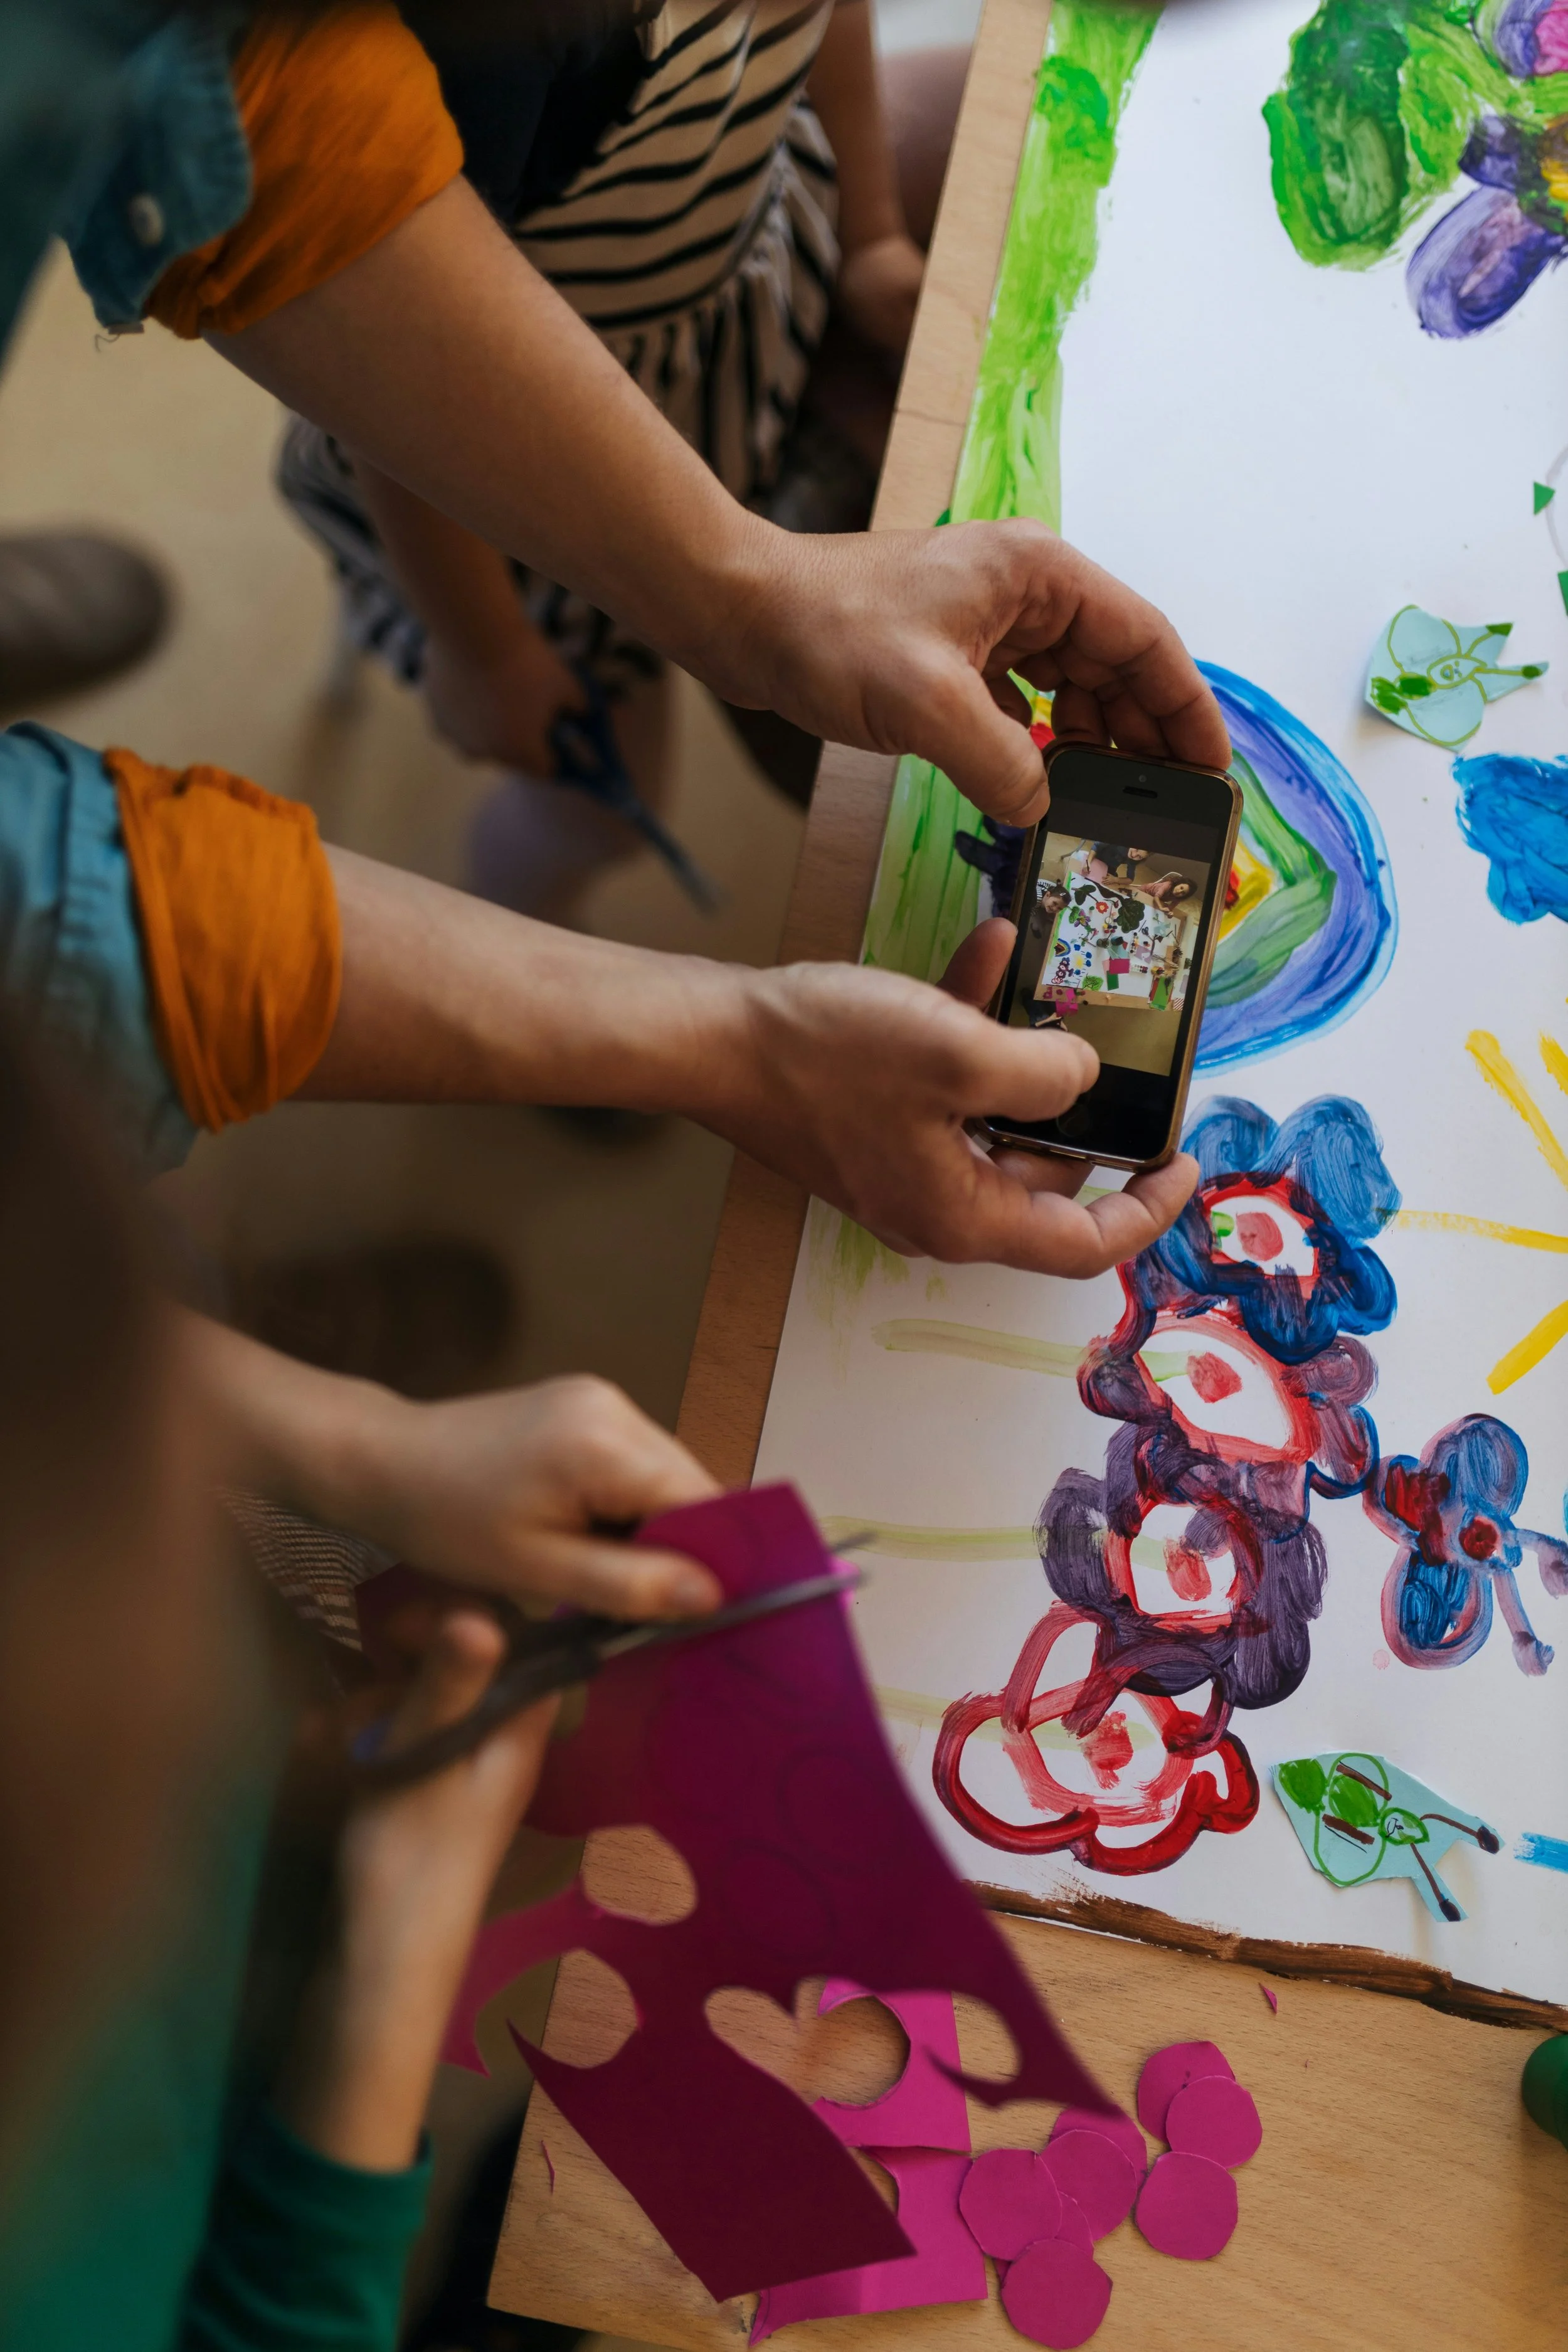
Involves students working together to create one large, collaborative artwork on a giant canvas or mural board. Each student contributes their own section, ideas and style, and the pieces come together to form a single statement artwork around a theme such as nature, community, school values or imagination.
Resources Supplied
Large canvas panels, rolled canvas or mural boards
Non-toxic acrylic or washable school paint in a full range of colours
Paintbrushes in a variety of sizes, plus sponges and rollers
Palettes or paper plates for mixing
Pencils and chalk for sketching the layout
Water containers, paper towels and wet wipes
Aprons or smocks
Drop sheets to protect floors and surfaces
How we will set it up
Drop sheets are laid out and the canvas is secured flat on the floor or fixed to a wall.
We begin with a short introduction to mural art and collaborative artworks, including famous community murals.
The group agrees on a theme, and the canvas is lightly sectioned with chalk or pencil so everyone has space to work.
Paint stations are placed within easy reach, with colours shared between small groups.
Students paint their sections, then step back to blend and connect the artwork as a whole.
The finished piece is left to dry and can be displayed at the school or centre.
PAPER MÂCHÉ
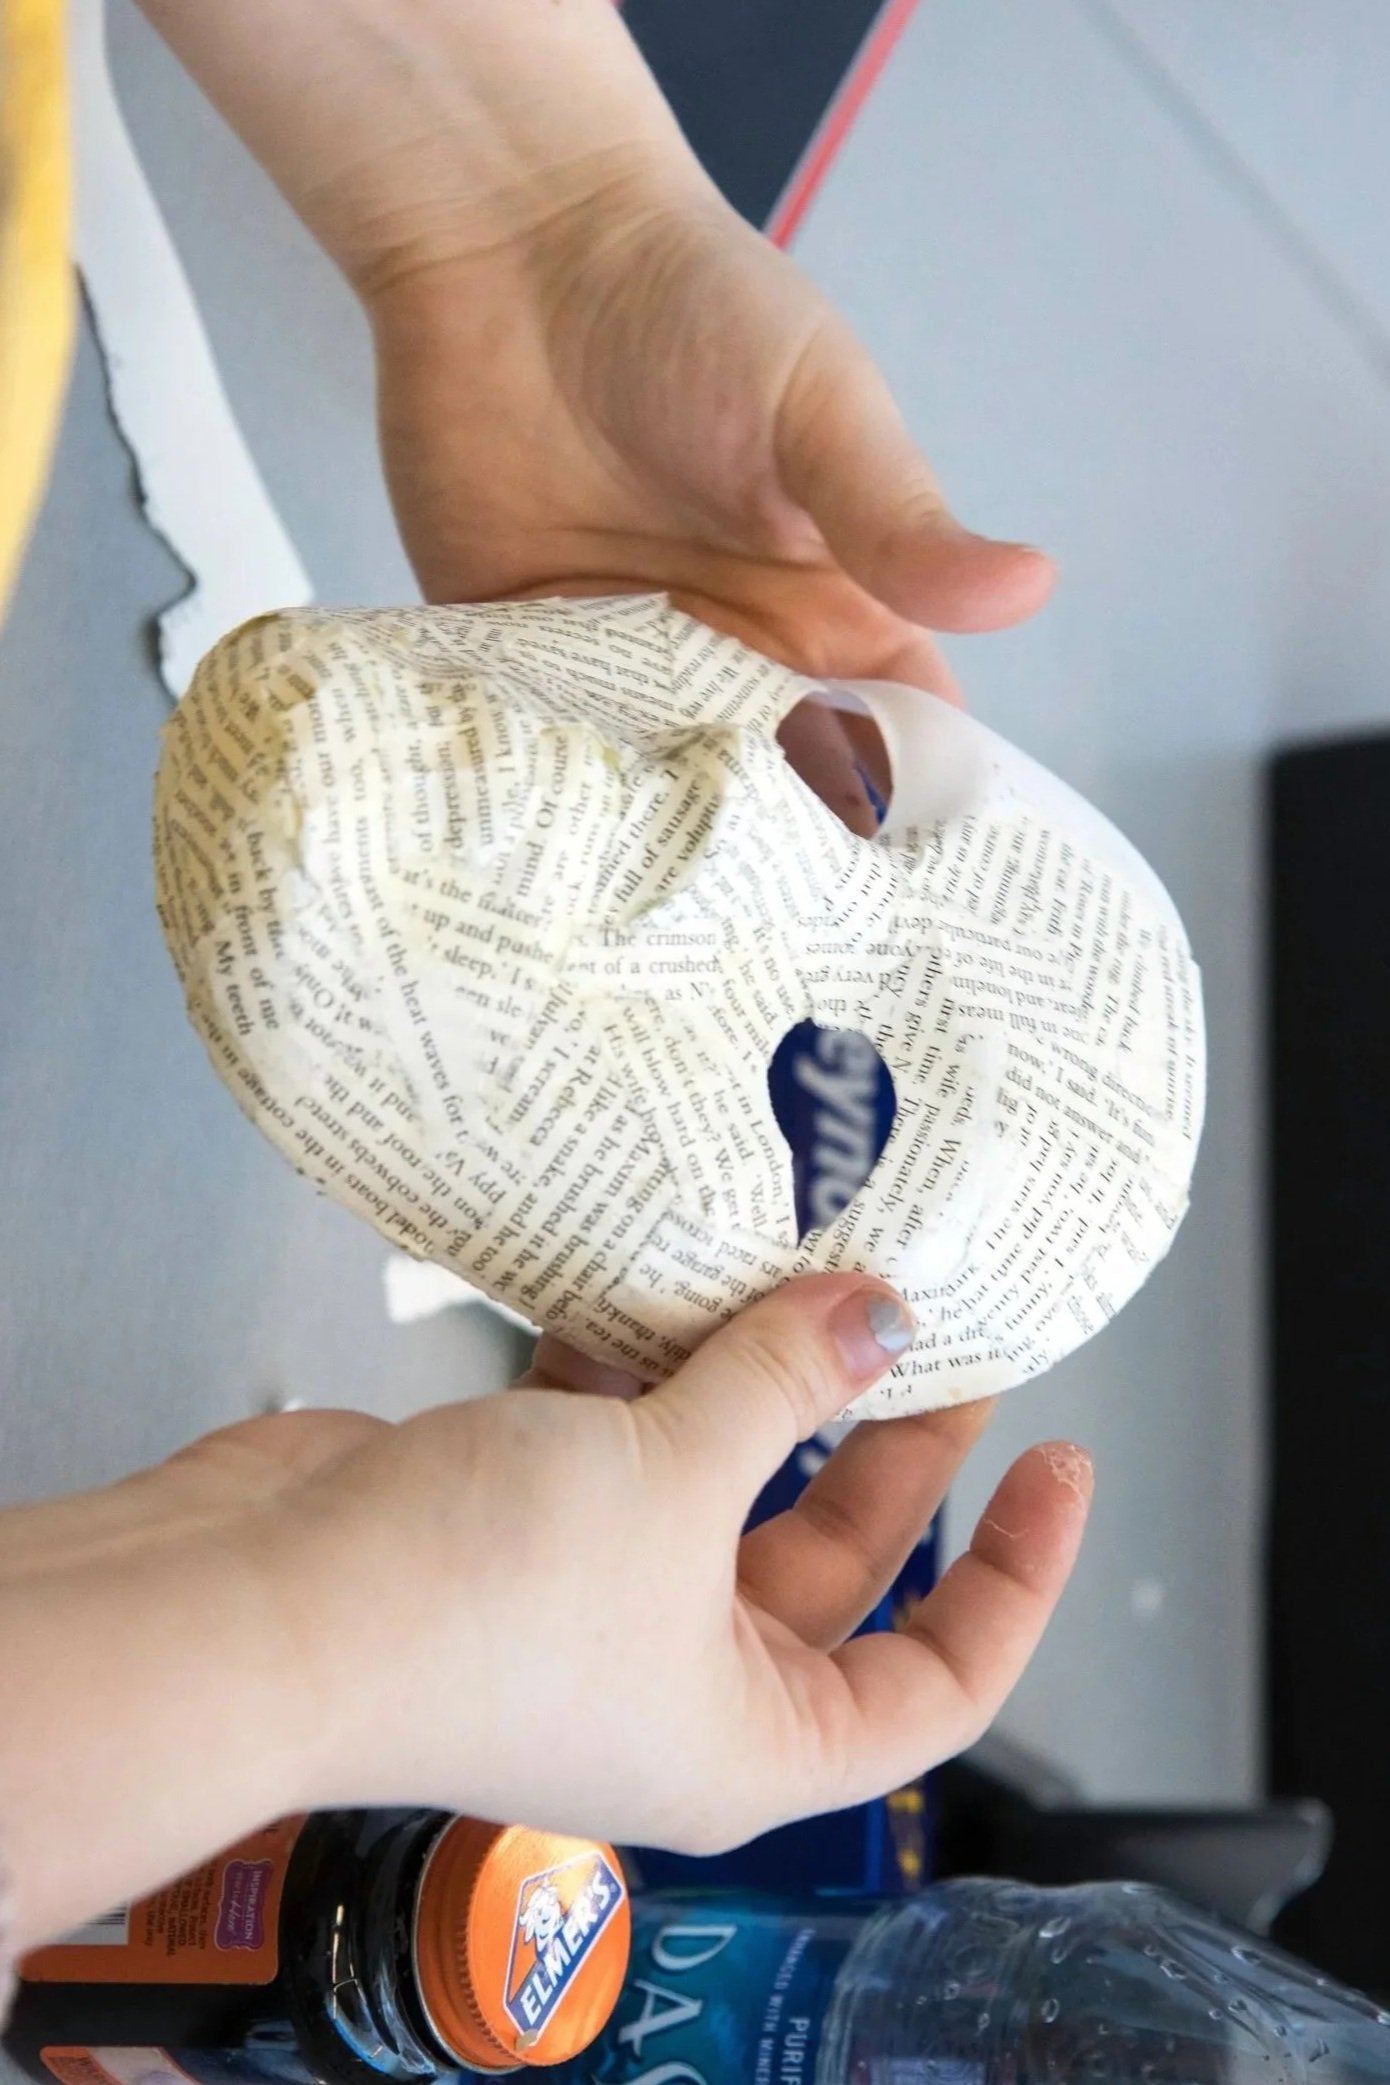
Involves students building sculptures out of paper strips and paste layered over balloons, cardboard or wire frames. They can create masks, animals, planets, puppets or imaginative creatures, then paint and decorate them once dry.
Resources Supplied
Balloons, cardboard shapes and wire or craft frames
Newspaper and paper strips
Non-toxic paste (flour-based or school-safe PVA mix)
Mixing bowls and brushes for applying paste
Acrylic paint, brushes and decorating materials (such as tissue paper, felt and googly eyes)
Aprons, drop sheets and wet wipes
Drying racks
How we will set it up
Work areas are covered, and paste and paper strips are prepared in shared stations.
We show how to build a base shape and layer strips for strength.
Students choose a design, such as a mask, animal or creature, and begin layering.
Pieces are set on drying racks, with an optional follow-up session for painting and decorating.
Finished sculptures can be taken home or displayed in a class exhibition.
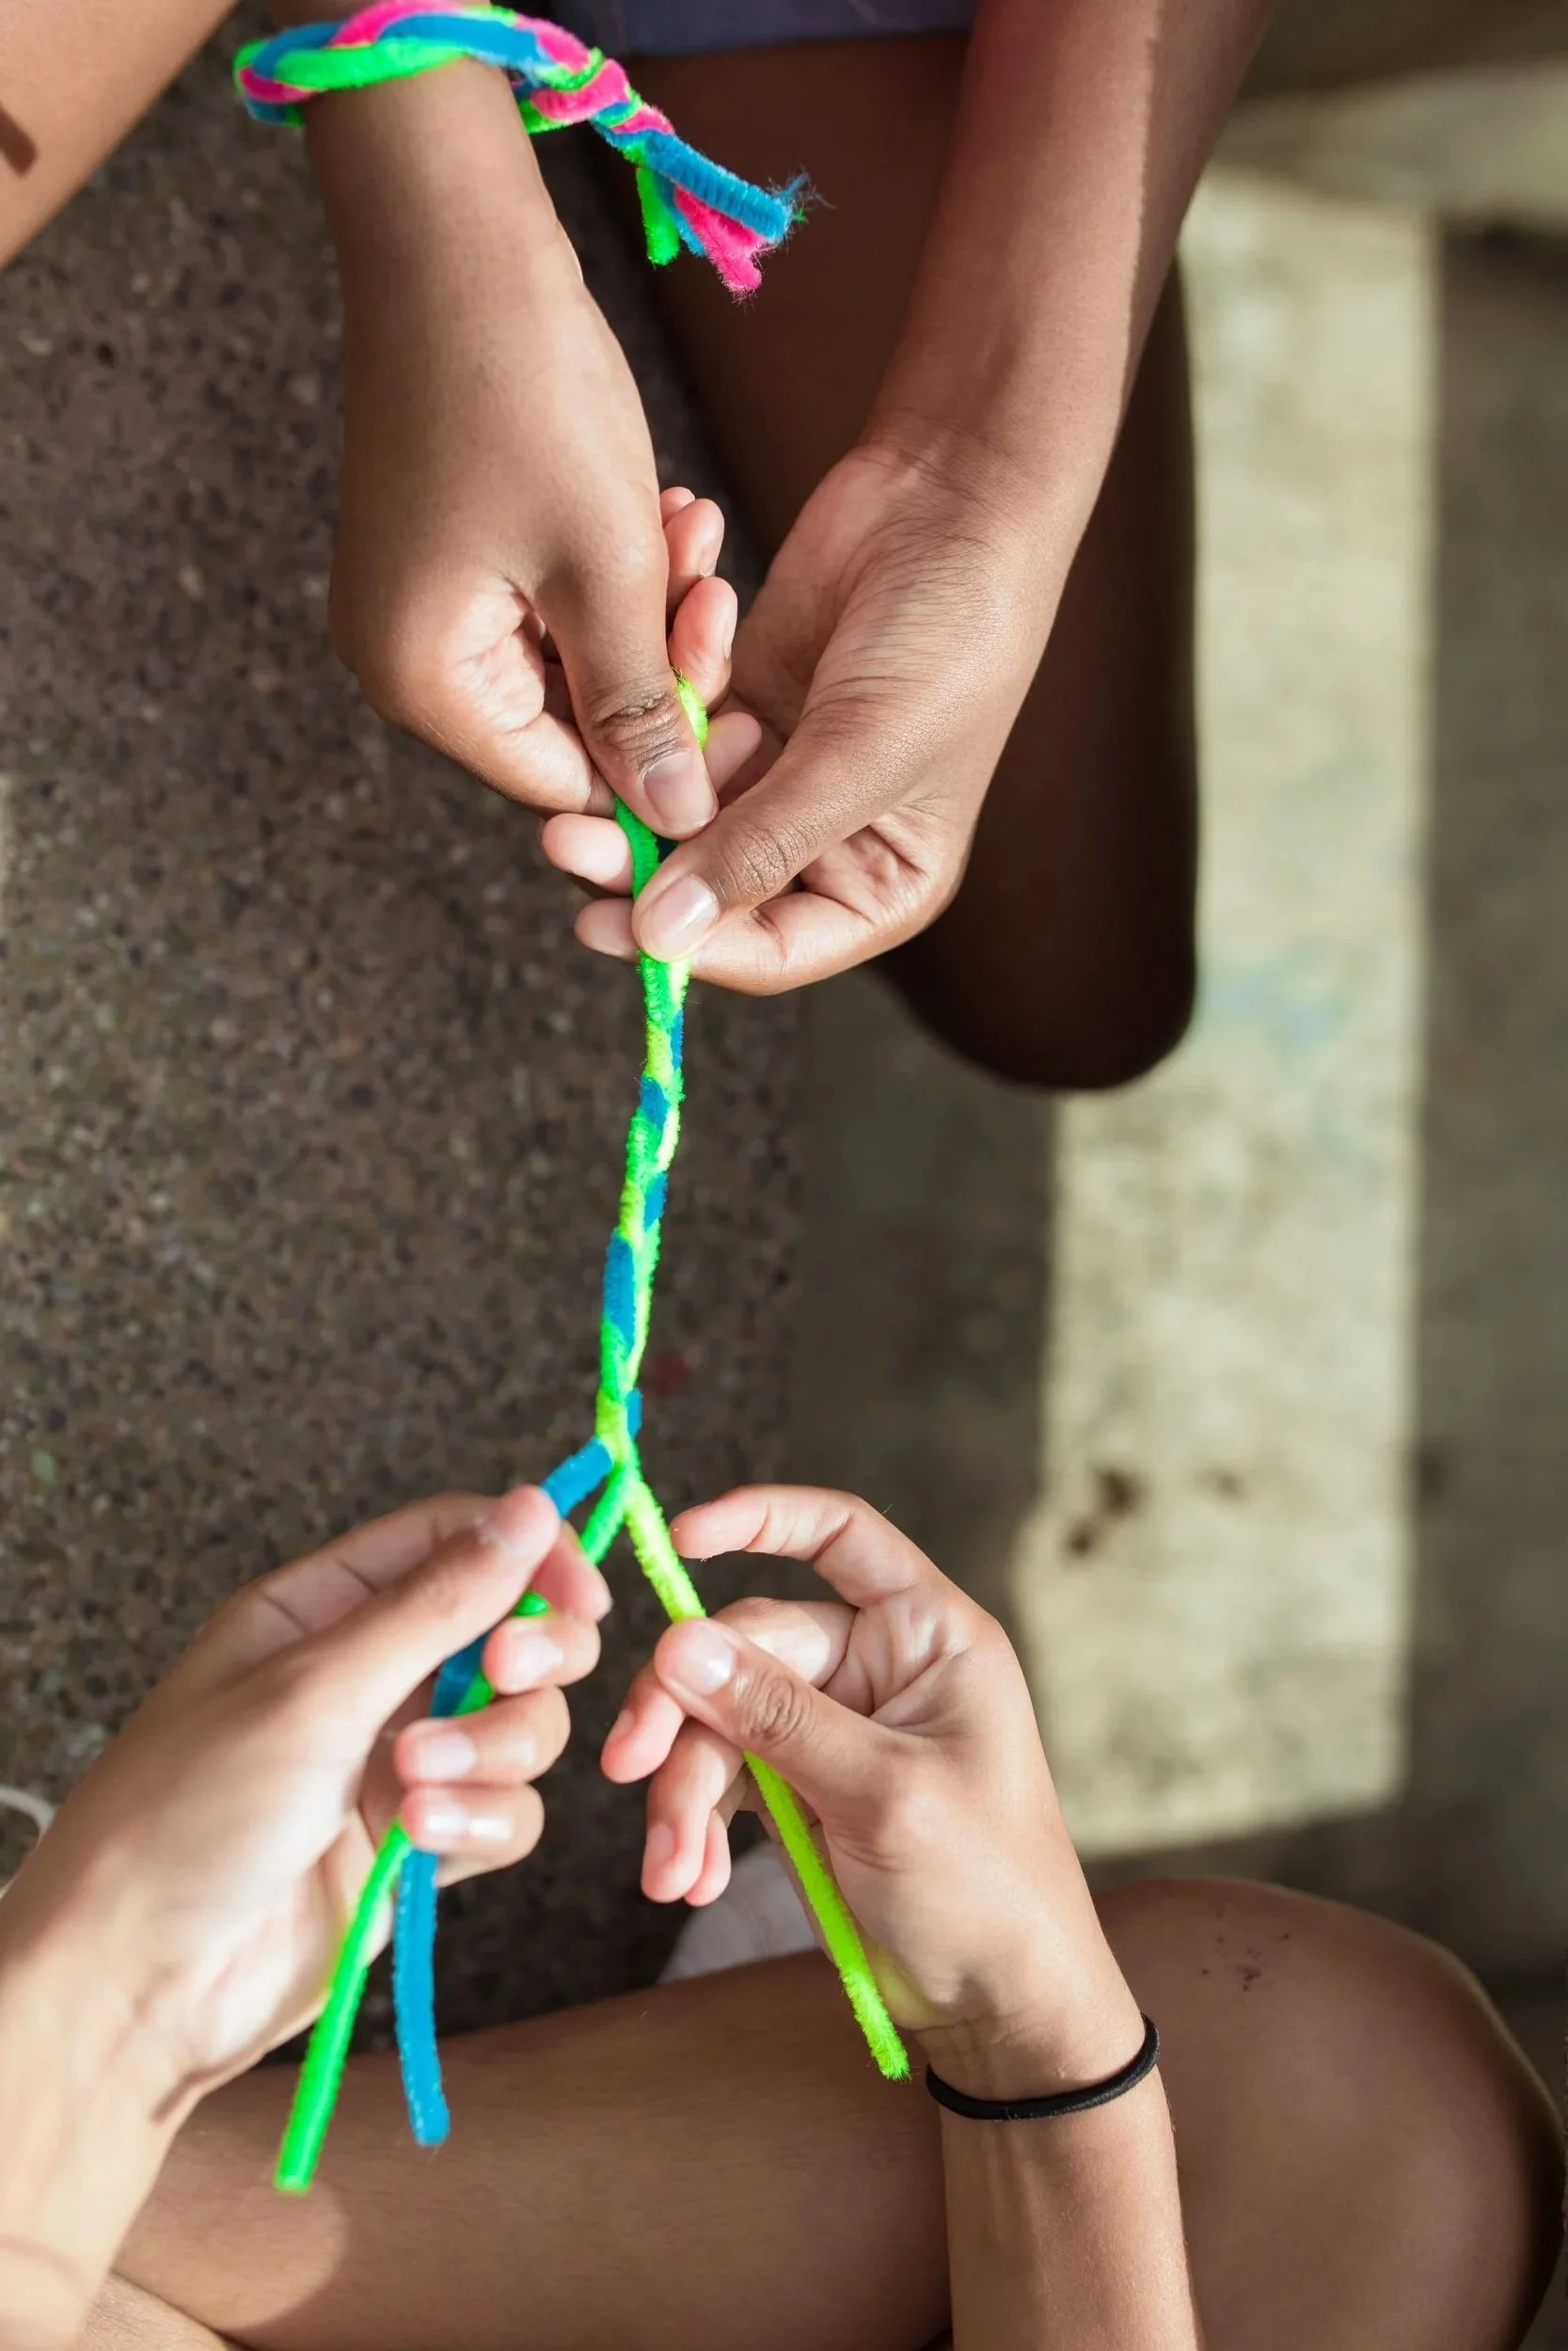
PIPE CLEANER ART
Involves students bending, twisting, coiling and layering colourful pipe cleaners to build their own mini sculptures. They might make animals, flowers, insects, jewellery, letters or imaginative creatures, and can take on more complex wire-style structures such as figures in motion or freestanding sculptures.
Resources Supplied
Pipe cleaners in a full range of colours, sizes and textures (standard, glitter, metallic and chunky)
Googly eyes, beads, pom-poms and felt for decoration
Safe, blunt-ended craft scissors or wire cutters
Sculpture bases such as foam blocks, wooden stands or cardboard
Pencils and idea sheets with simple step-by-step designs
Sorting trays or bowls for each table
Display stands for finished pieces
Wet wipes and table coverings
How we will set it up
Tables are set up with colour-sorted trays so students can easily choose and share materials.
We begin with a quick demonstration of basic techniques: twisting, coiling, looping and joining.
Students are shown simple starter shapes, then choose a theme or follow their own imagination.
Finished pieces are mounted on bases or displayed on a shared exhibition table.
Students can take their creations home or contribute them to a class installation.